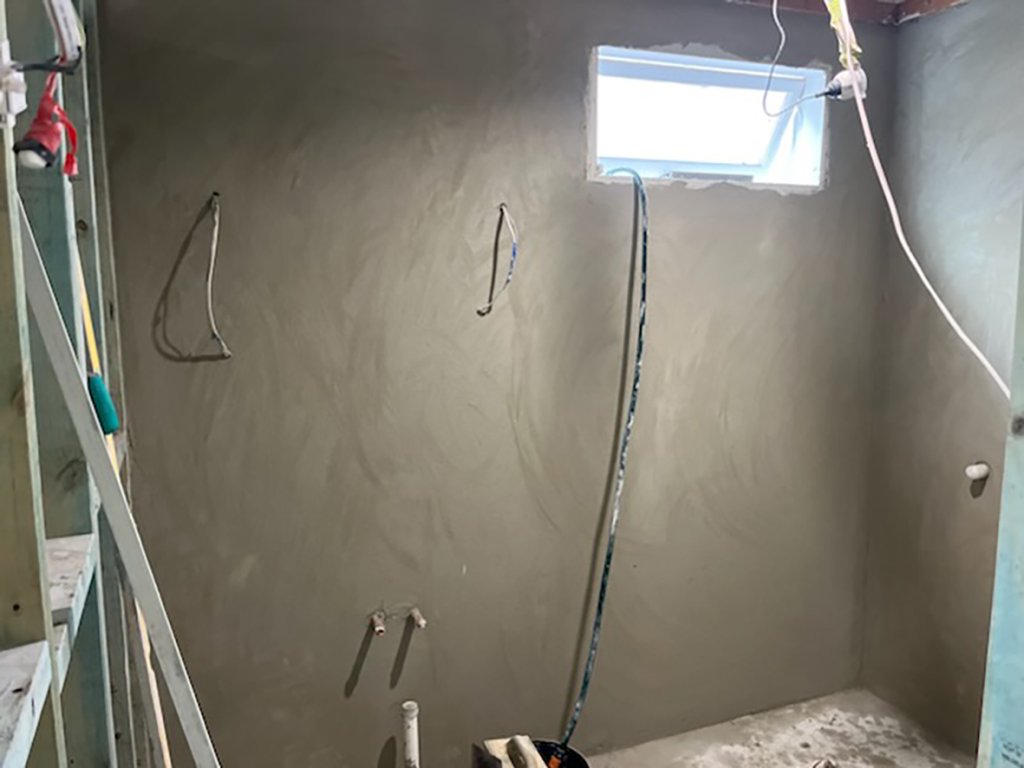

Rendered Bathroom Walls Ready for Tiling
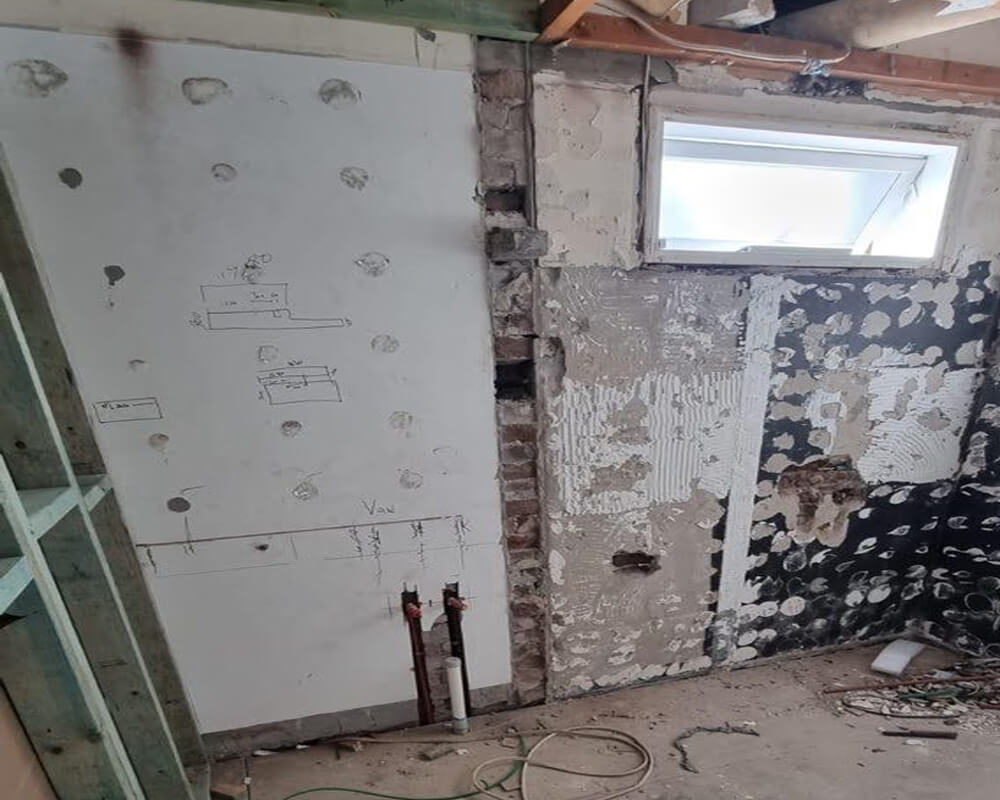
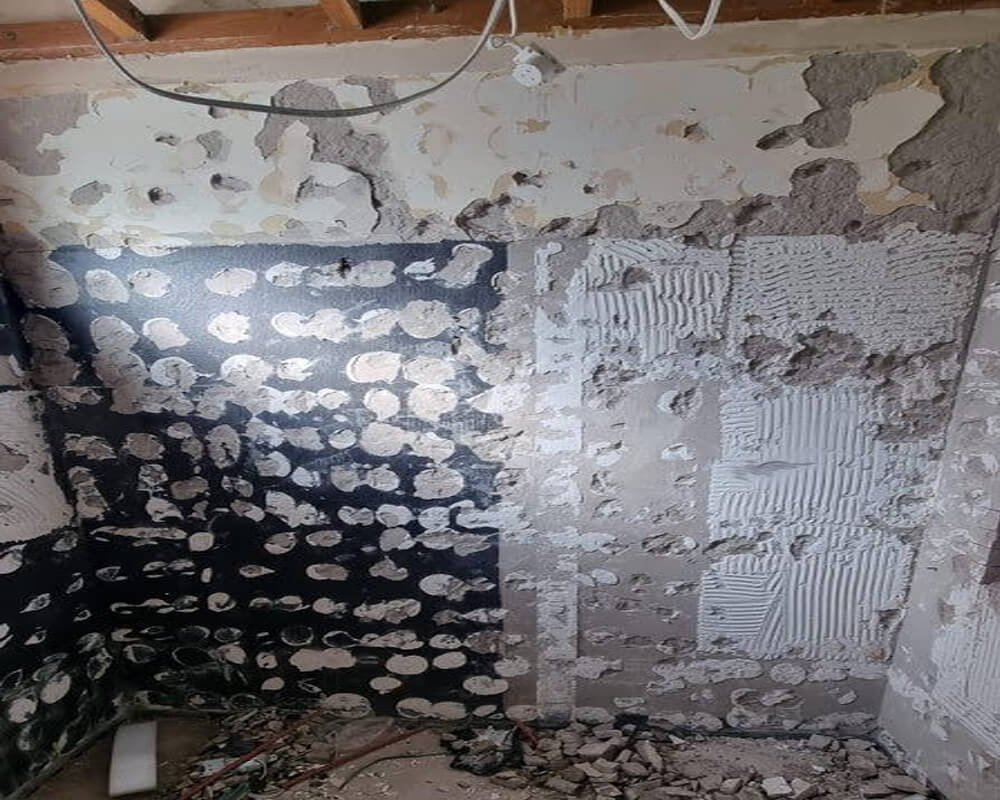
In our bathroom wall rendering process, we start by meticulously grinding off any flaky paint and glue, making sure the surface is smooth and free of debris. This involves removing all tiles and any grit that may compromise the adhesion of the new layers. Once the surface is prepped, we apply a coat of key coat high-polymer adhesive to wall surfaces, enhancing the bond between the substrate and the render.
Following this, we add two coats of acrylic render to create a durable and water-resistant finish, stopping water penetration and ready for tiling. The final steps involve applying two additional coats for leveling and finishing the float, ensuring that the surface is perfectly even and ready to support painting and adding new tiles. For a visual journey through our process, take a look at the photos above and witness the transformation firsthand!


