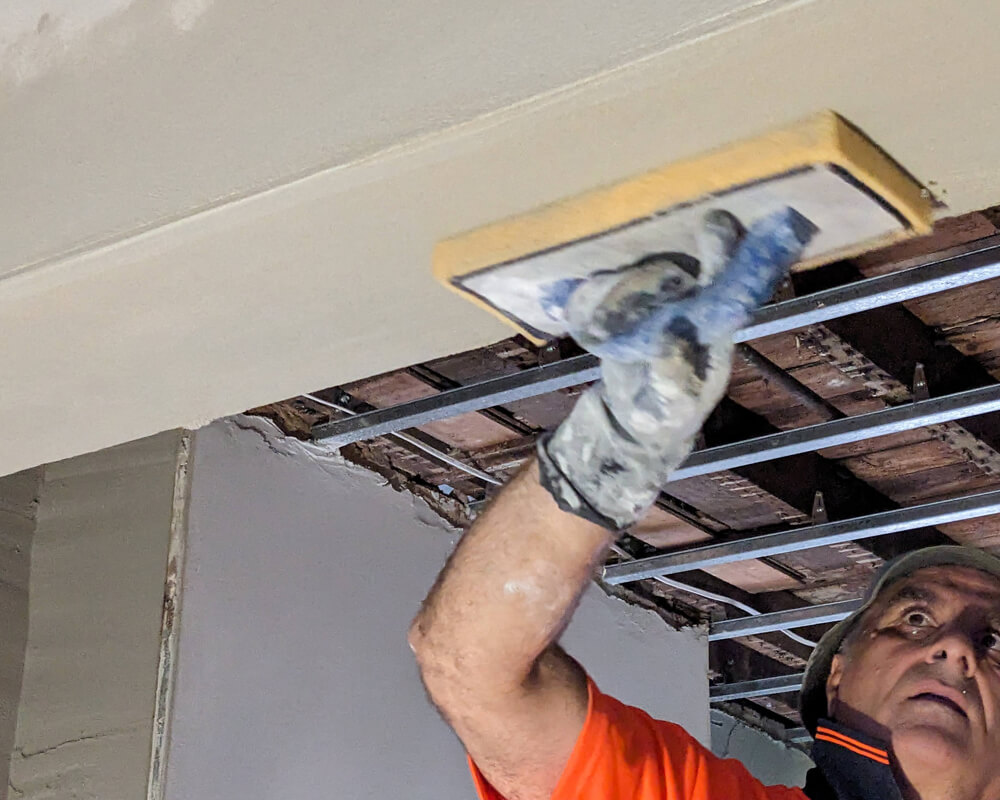
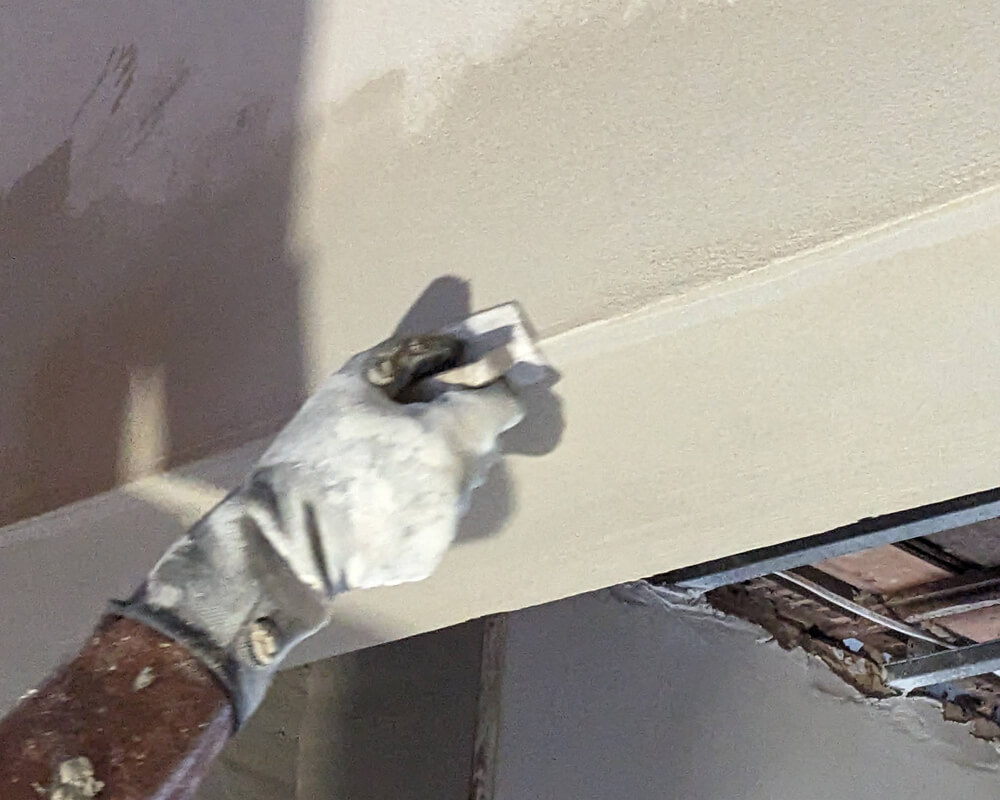
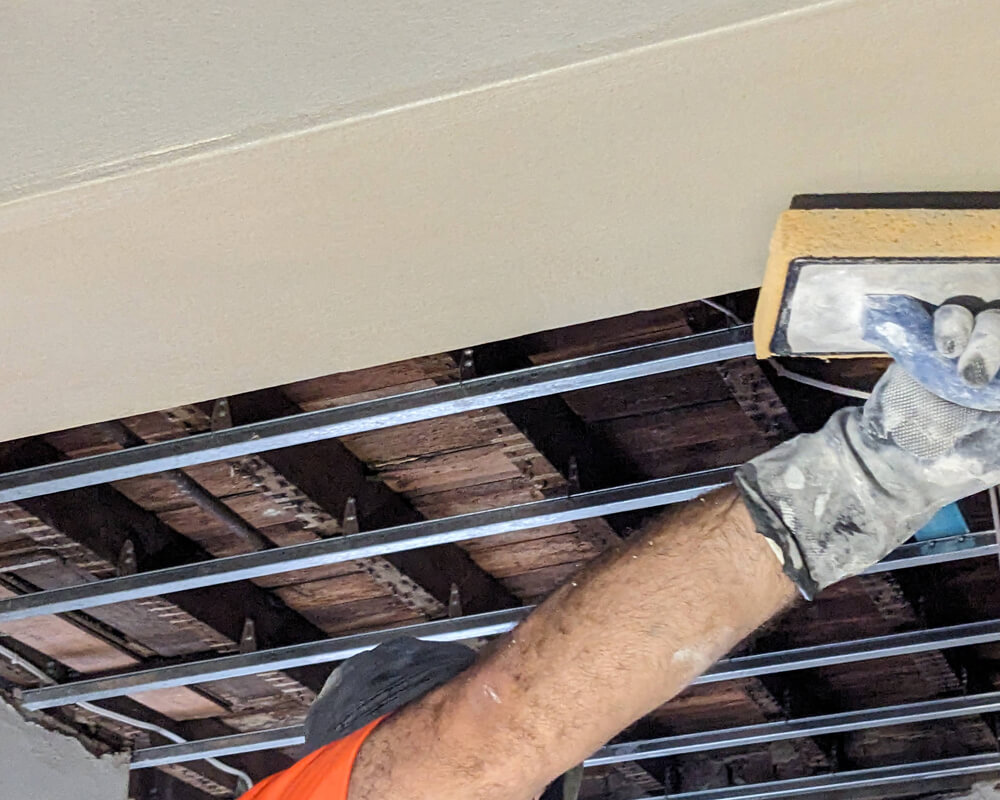
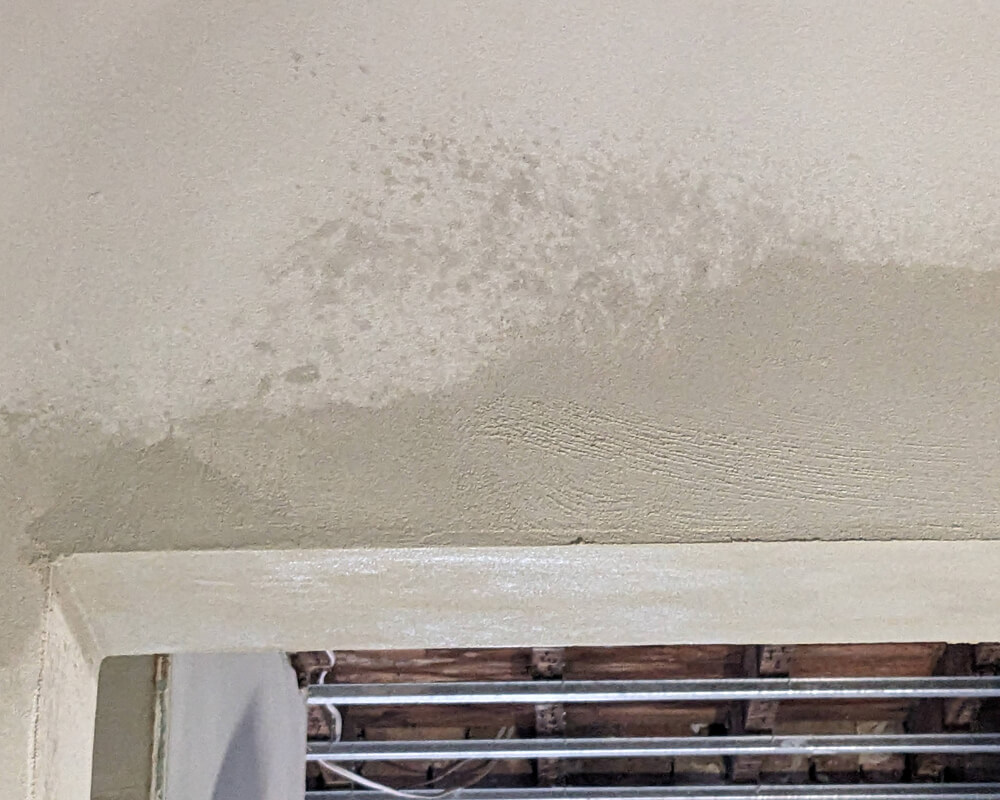
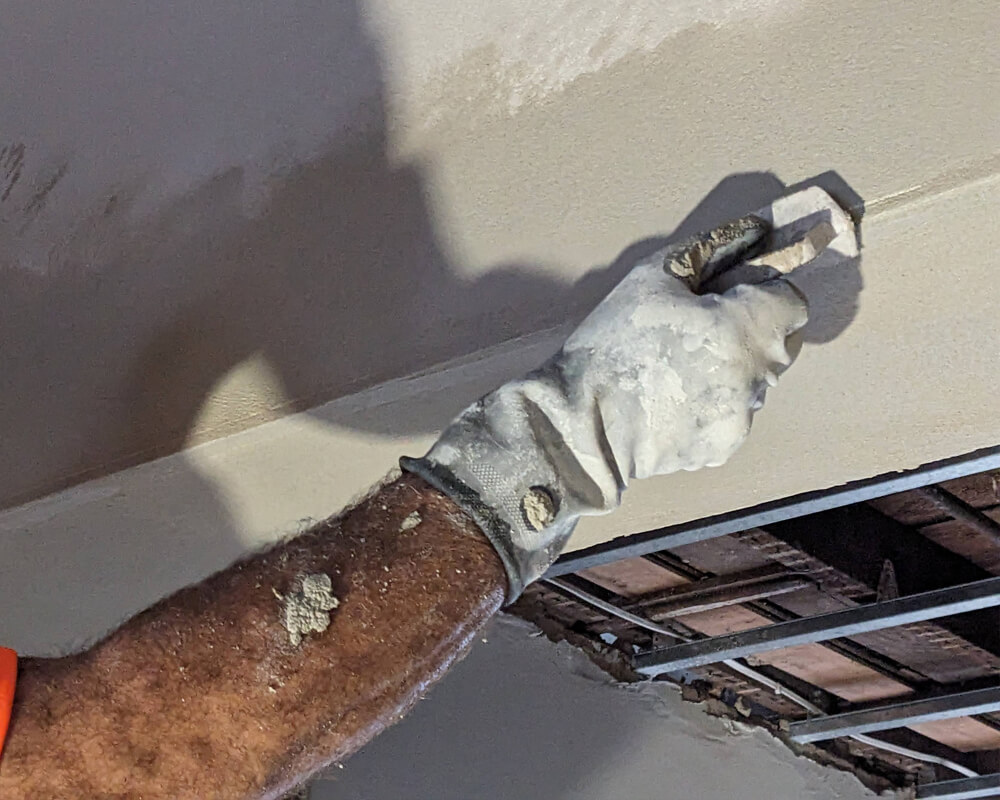
The Render Sponge Float Finish method for interior walls involves a meticulous process to achieve a smooth and polished surface. Following the application of the base coat of render, the surface is allowed to partially set before the sponge float is introduced. In the photos above, you can see the skilled technician employing circular motions with the dampened sponge float, which is crucial for preventing it from sticking to the render. This technique effectively smooths out any imperfections and creates a consistent texture across the wall, enhancing its visual appeal.
The photos in the gallery highlight the precision and attention to detail required for this task. Each pass of the sponge float contributes to refining the surface until it attains the desired level of smoothness. It’s essential for the worker to maintain uniform pressure and motion throughout the process to ensure a flawless finish. Additionally, periodic rinsing of the sponge float helps prevent the accumulation of render residue, which could mar the final result. Once the surface has been thoroughly worked, it’s left to fully cure, resulting in an interior wall with a sleek, smooth and professional appearance, ready to enhance the ambiance of any room.